 Cakes
Cakes
My Best Ever Recipe For Chocolate Fudge Cake

This cake recipe will give you such a sense of satisfaction – hearing the yums, oohs and aahs, and mostly a few lonely crumbs on an empty plate!
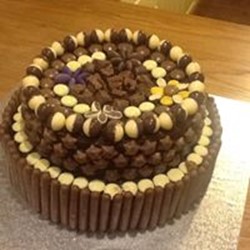
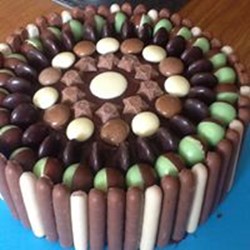
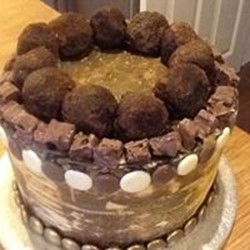
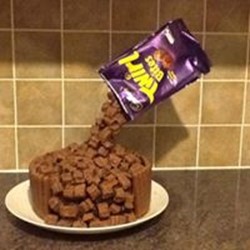
The decoration is limited by your own imagination. It’s so moist, it can be enjoyed just as it is, sandwiched together with cream, a simple buttercream, chocolate cream, ganache……. Coated and decorated pile as high as you dare!
Ingredients
I do weigh as I go along, to try and save on the washing up effort, but do check you have everything you need before you start – nothing worse than getting halfway though and someone had the eggs for breakfast! You can easily make a gluten free version of this cake by using your free from ranges
50g cocoa powder
6 tablespoons boiling water100g butter (softened) dairy spread is fine too
275g castor sugar
3 large eggs
50ml milk
175g self-raising flour
1 rounded teaspoon baking powder
Getting Started
Prepare 2 x 8″ cake tins (you can experiment with tin size once you are familiar with the quantity and bake time). You can use the pre-cute tin liners, or use some extra butter, spread smeared onto the tin, followed by a thin coating of flour, discarding any excess.
Turn your oven on to pre-heat 180C, 160C/Fan Gas 4
Into your mixing bowl, stir together the cocoa powder and boiling water. Mix to form a paste, then leave for a few minutes to cool slightly. You can do this ahead if you prefer, though not necessary.
Add the butter/spread to the cocoa mixture, along with the castor sugar and beat well.
Once well combined and creamy in texture, add the milk, mix (careful as it can splatter). Then gradually add alternating amounts of flour then egg, baking powder until well mixed.
Make sure you scrape to the bottom of your bowl as the cocoa mixture can stick and you don’t want to miss any of that fudginess!
Share the mixture into the 2 tins, is quite a runny mix, so don’t worry, and it should level out easily without needing to mess about with it.
Put the tins into the pre-heated oven, set a timer for 35 minutes for the first check. Don’t open the oven door before then as the cakes could sink.
After the 35 minutes, check by gently pressing the top of the cake, it should be springy, not soft, not crispy. I also listen, you can hear if it still sounds ‘wet’. Don’t despair if you get it wrong, correct it for next time! If I’m not sure, I will bake for a further 3-6 minutes, then retest and remove from the oven.
Leave the cake tins until they are cool enough to handle before turning them out onto a cooling rack.
Once completely cool, you can finish however you like!
**Fillings ideas and recipes will be coming to my blog soon**
Enjoy……….
Finally, please send me pictures of your cake via my Facebook page or Instagram feed – I would love to see what you create. Also, feel free to contact me with any queries or questions.
HAPPY BAKING
Julie